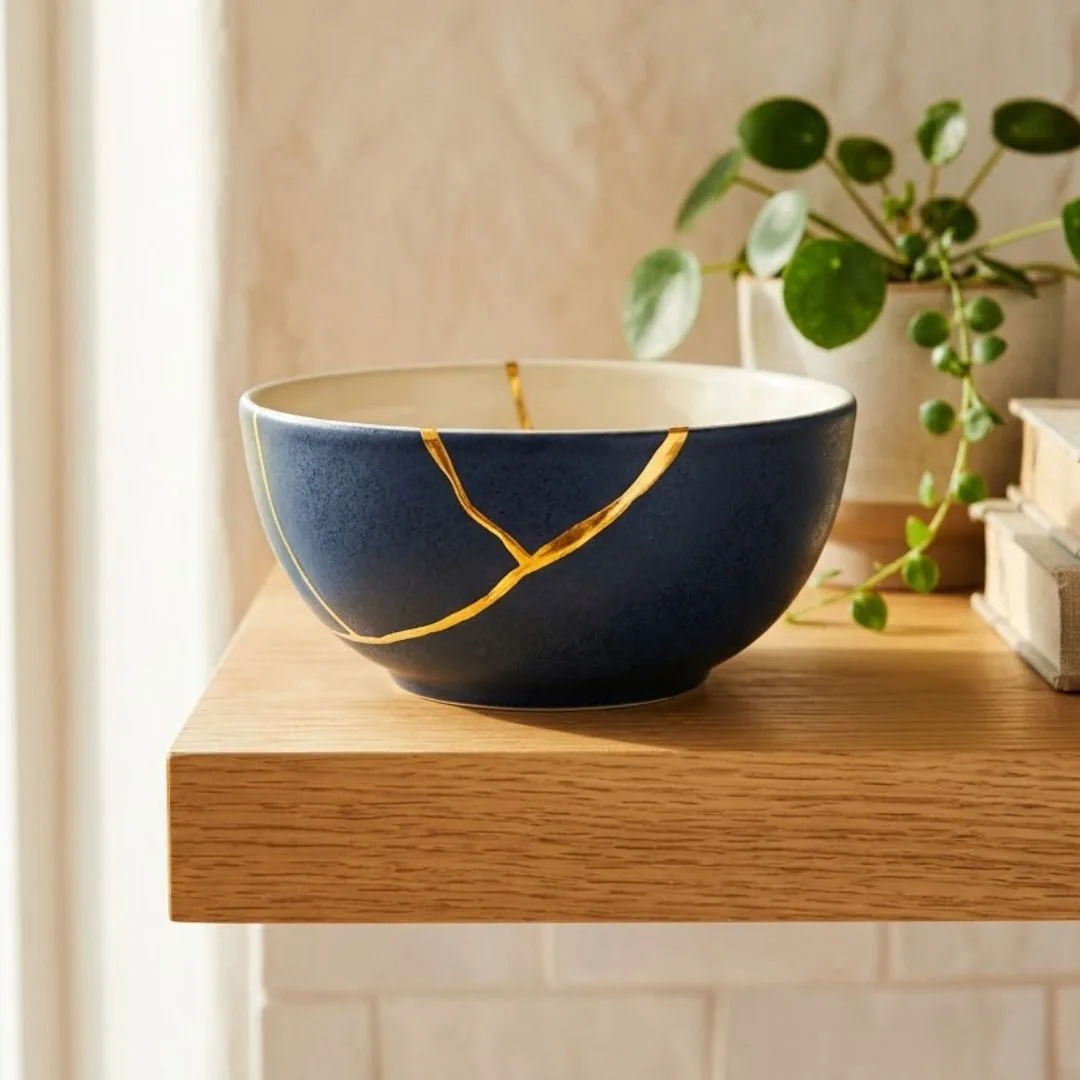
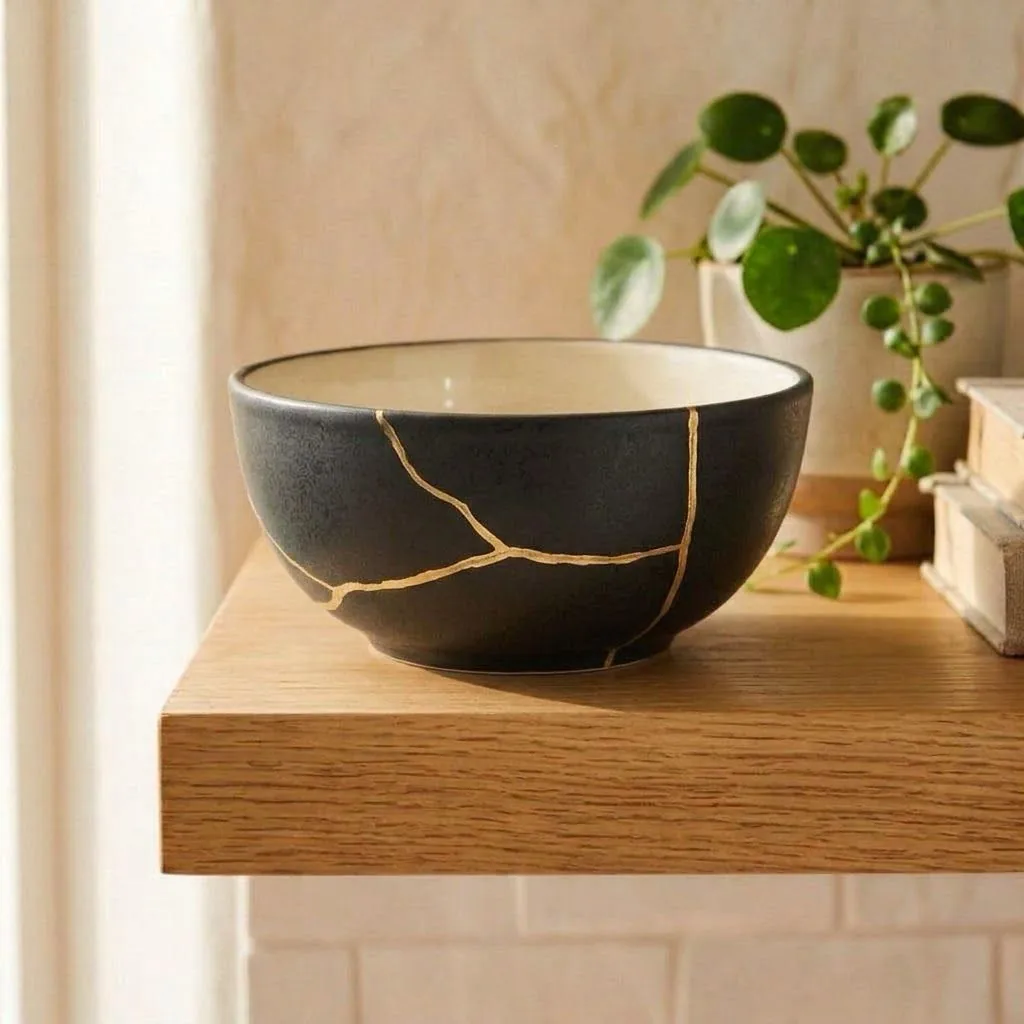
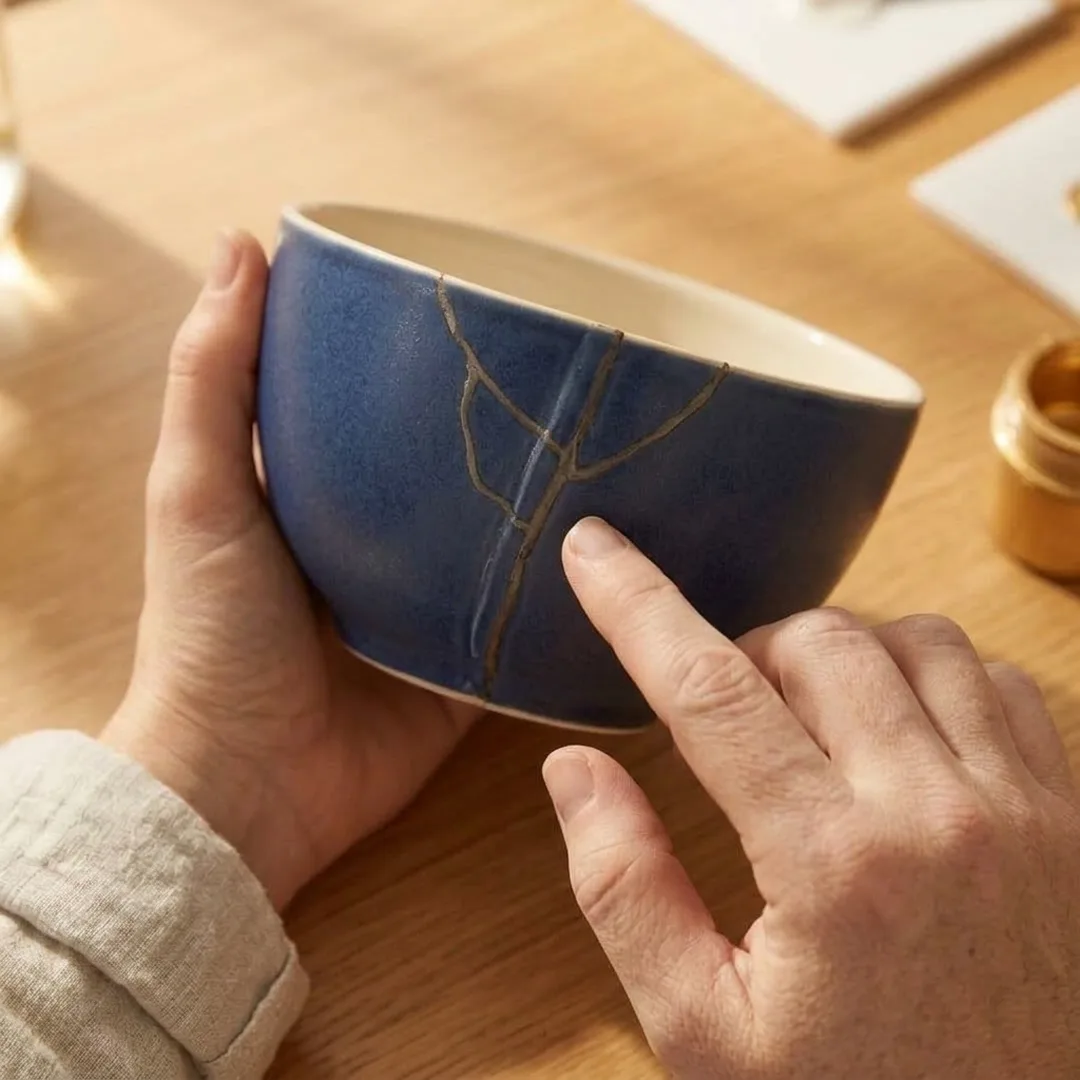
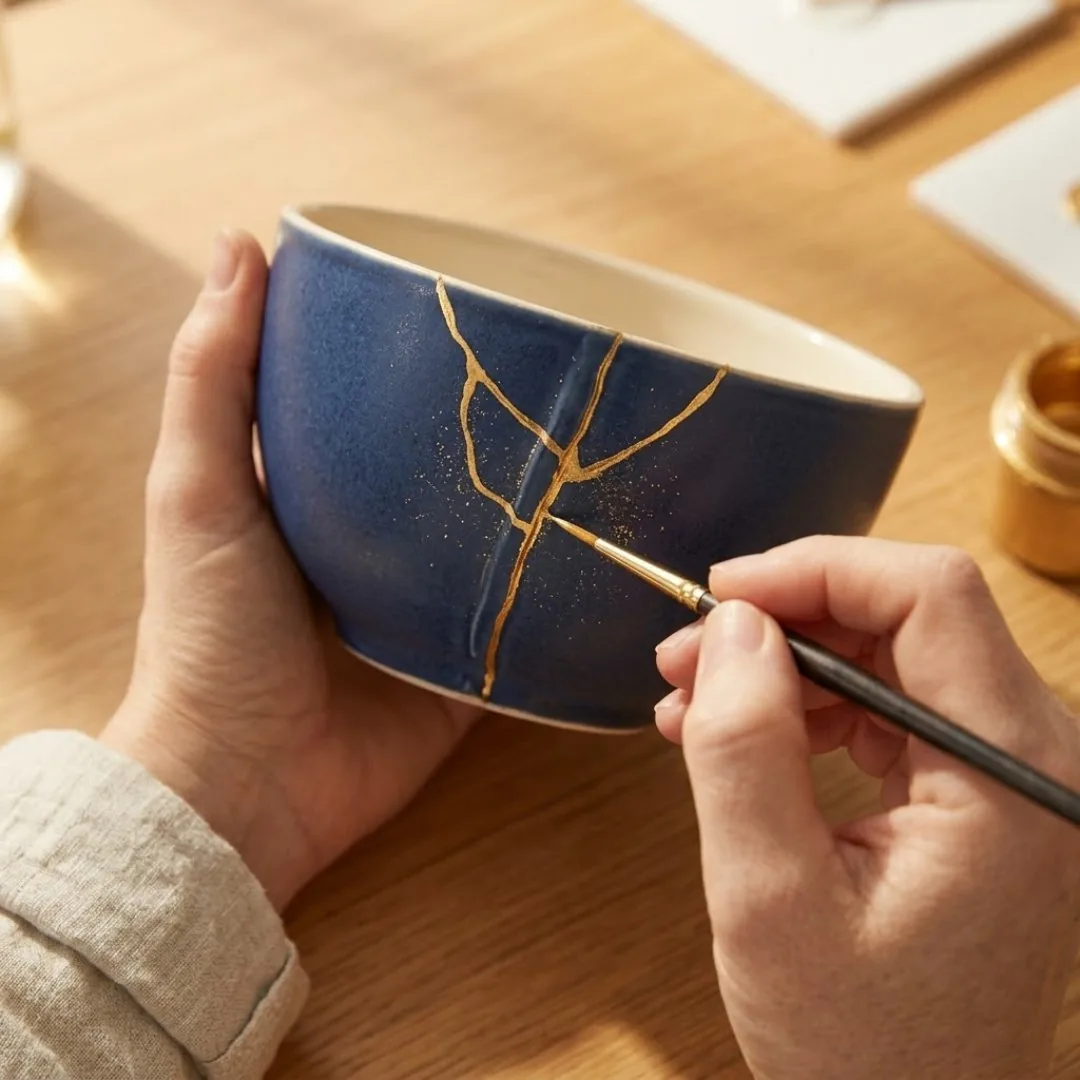
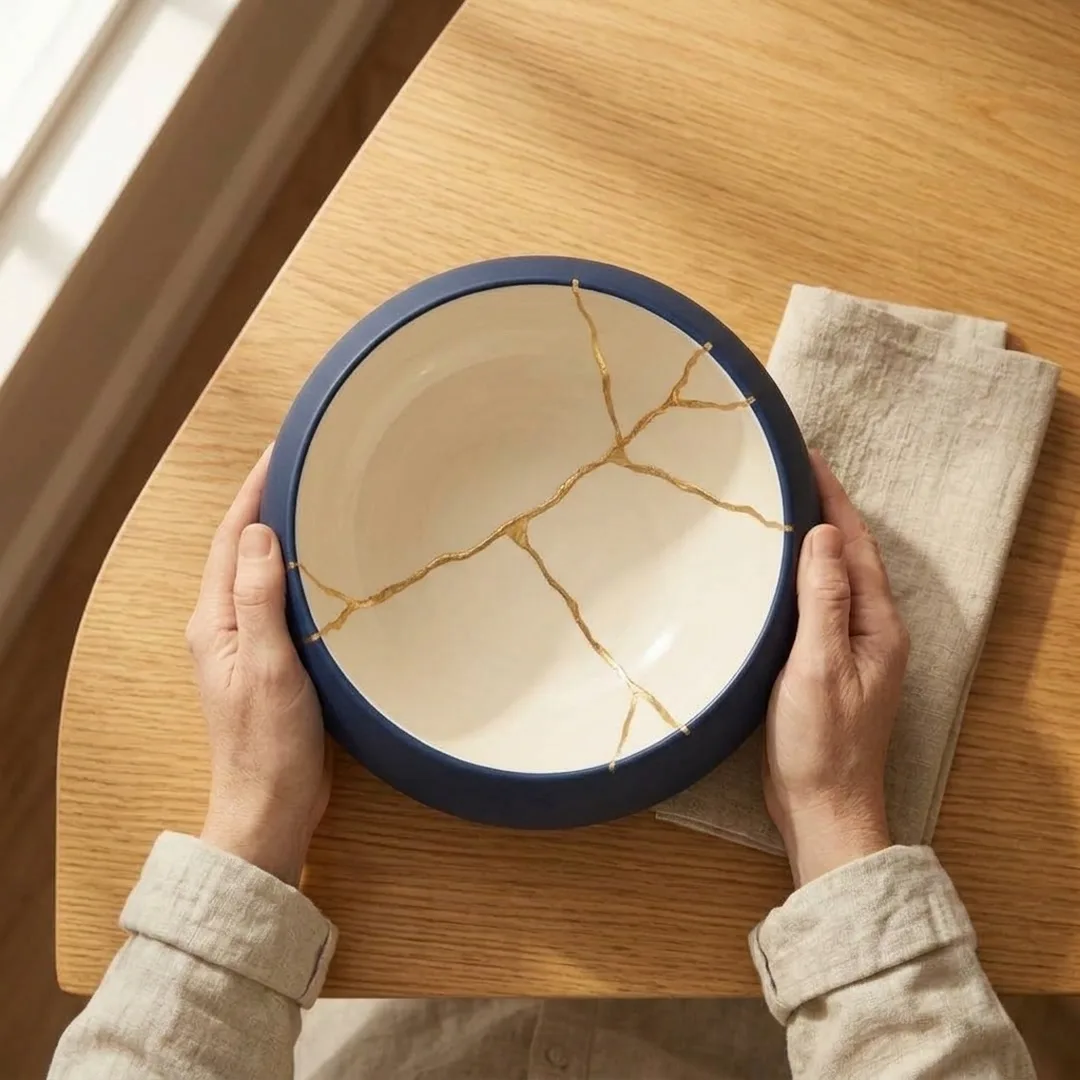
Buy a two dollar bowl, break it on purpose, and mend it with a river of gold.
It takes a weekend at whatever table you already have and about thirty dollars of supplies, and you do not need one bit of artistic experience.
Taught by Maya B., retired school librarian who mends bowls at her kitchen table
A two dollar bowlYou start on a cheap thrift store find, never on something precious.
No artistic skillYou do not draw the design. The break hands it to you.
One weekendAn ordinary bowl on Saturday, gold on the shelf by Sunday.
1 weekendThrift bowl to centerpiece
What the weekend looks like
So picture yourself in a thrift store on an ordinary Saturday morning, picking out a little bowl because you like the color of it. Two or three dollars. You bring it home, and I show you a simple contained way to open it into a few clean pieces at your own kitchen table, no dropping and no smashing, and then you spend the afternoon putting it back together. And by the time you stand up you are holding something with a river of gold running right through it, and it catches the light like it belongs in a glass case.
Then you set it out on the shelf the next time people come over, and somebody picks it up without asking and turns it toward the window and wants to know where you got it. And you get to tell them you made it yourself, at that same kitchen table, out of a bowl that cost you two dollars.
And the part that surprises people is how little there really is to it. A handful of inexpensive supplies, and a technique so forgiving that the spots where you wobble are usually the spots people tell you they like best. There's no kiln, and you don't need any previous training. Mostly it is your hands and a spare afternoon and a little jar of gold powder.
And there is one more thing, which is that you are learning a skill and not just doing a repair. Once you have a few of these behind you, if something you actually care about ever hits the floor, you will know exactly what to do with the pieces instead of standing there feeling helpless.
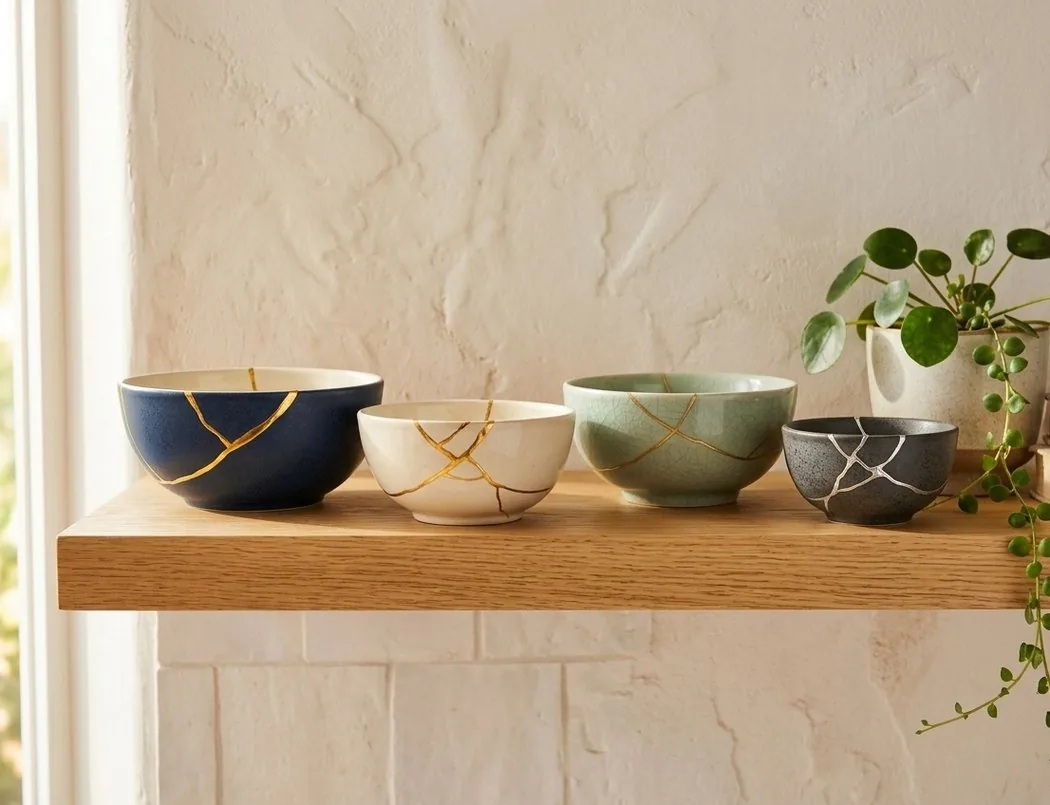
Same technique, three looks
Every break lands differently, so no two of these ever come out the same.
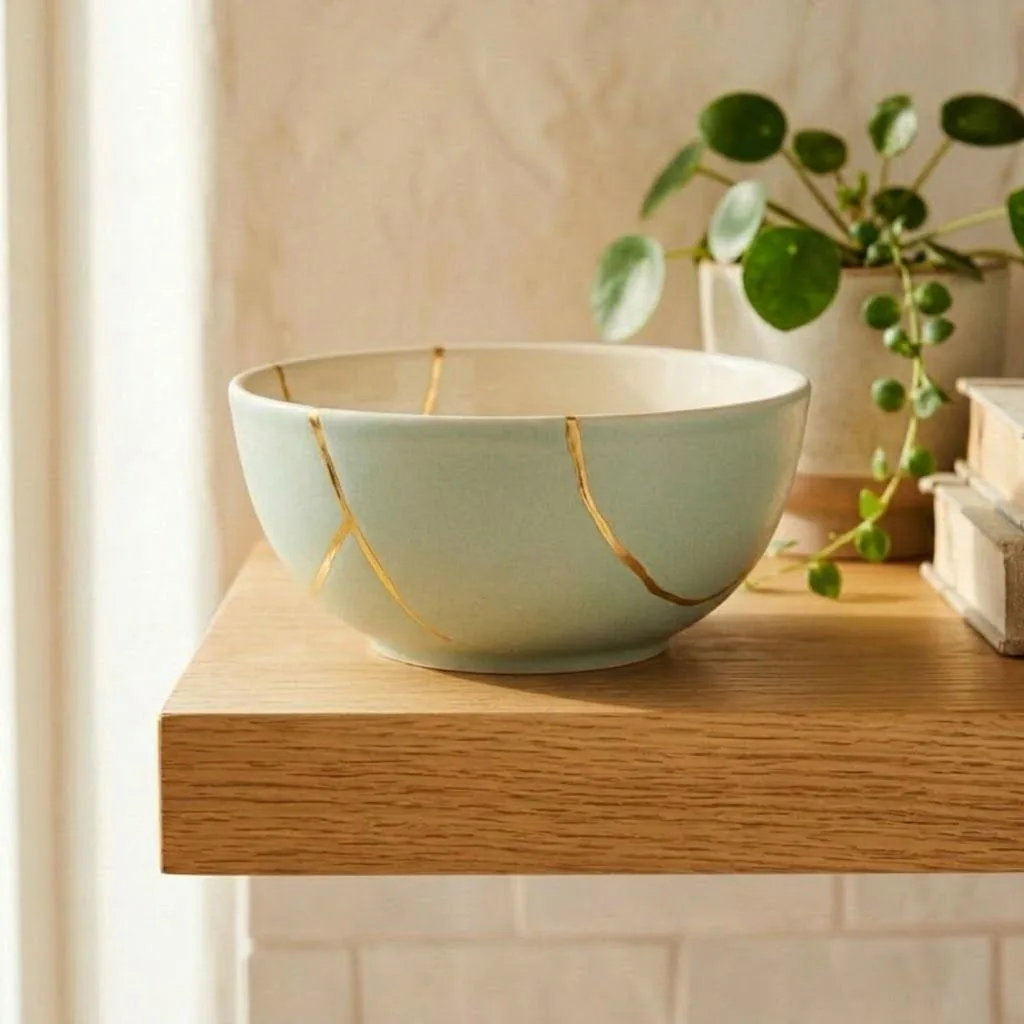
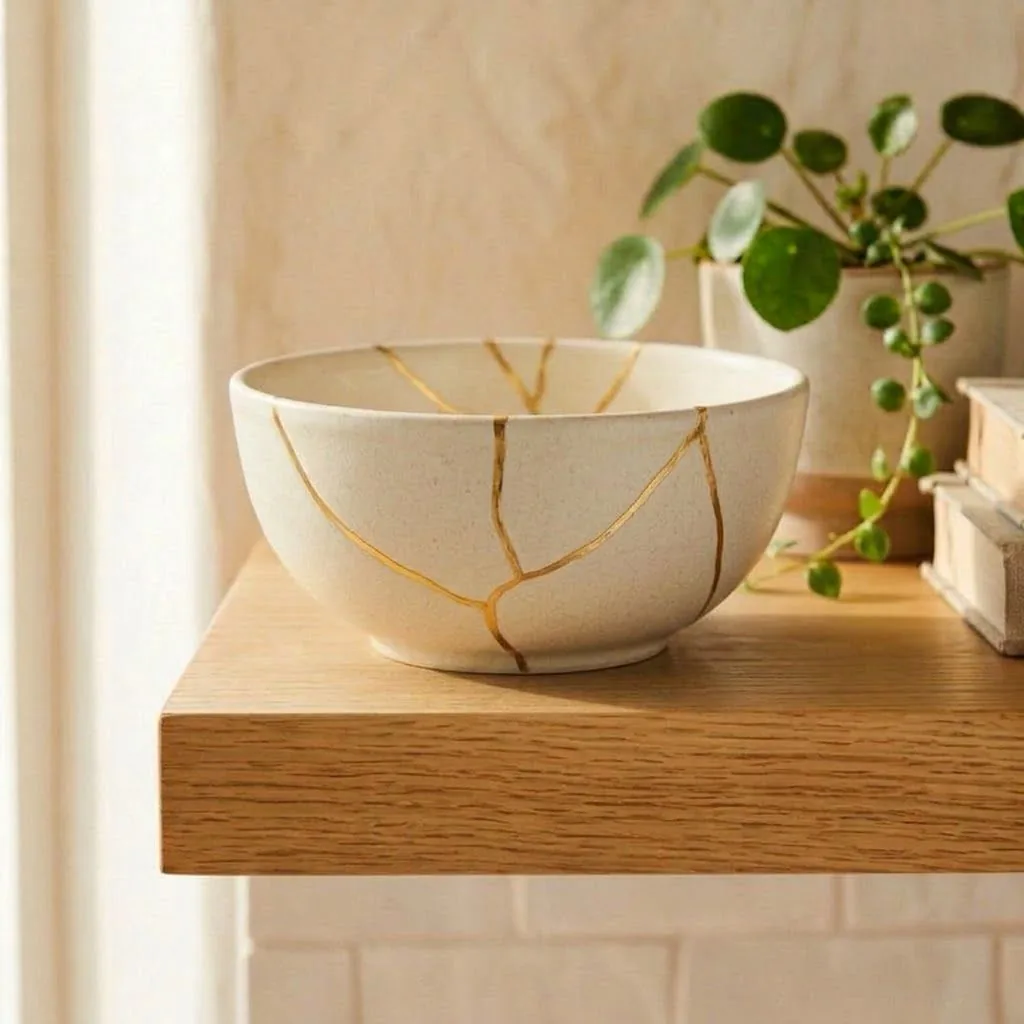
You change the bowl or you change the metal, and the same weekend technique gives you something different every time. Here are three of mine.
How it works
The crack already drew the design for you.
The first time you see kintsugi (how to pronounce: kin-TSOO-ghee), which is the Japanese art of mending pottery with gold, nothing about it looks like a beginner craft. A bright vein running through a deep glaze looks like museum work, like somebody trained for ten years and charges accordingly.
Here is the part that surprises people. You don't have to draw or paint, and you don't need a steady hand either, because the crack already traced the design across the bowl before you ever picked it up. Your job is to glue the pieces level and keep the seam thin and lay the gold where the line is already pointing. Everything that actually matters is about doing things in the right order, and order is something I can teach you in an afternoon.
And if you look closely at a real kintsugi vein you'll see that it wanders a little, and that wander is the whole reason it reads as art instead of a factory print. Which is exactly why a two dollar thrift store bowl makes such a good first project. You are not inventing anything. You make the break, and the break hands you the lines to follow.
There is a practical reason we start this way too. A bowl that gets dropped tends to shatter into crumbs and slivers you cannot do much with, but a bowl you break on purpose, the way I show you in Module 1, comes apart into three or four clean pieces with good edges. The deliberate break isn't a beginner compromise. It's actually a better starting point.
Fair questions first
There are two things everybody says before their first bowl.
These come up in every single workshop I teach, so let me just answer them right now.
"But I'm not artistic. I can't make anything."
Good, honestly. Almost everyone I teach says exactly that, and it really does not matter here, because you are following a line that is already sitting on the bowl. And those little wobbles in a hand-traced vein are the whole reason a piece reads as handmade instead of bought. The bowls of mine that get compliments are the ones where the vein wanders, and I know exactly where every one of them wanders, and nobody has ever once pointed it out.Maya B.
"I'll just make a bigger mess and ruin the bowl."
You will make a mess early on, and so does everybody, me very much included. That is exactly why your first bowl is a two dollar thrift store find that we break on purpose into a few clean pieces, so if your first try gets a little messy, you haven't risked anything precious. And the modern method forgives things the traditional one never would, because cured epoxy can be scraped right back off and re-gilded. Almost nothing you do to it is final.Maya B.
Your instructor
Maya B.
I spent thirty-one years as a school librarian, and I still read the last page of a mystery first. The mending came a lot later. It started the day my grandmother's rice bowl hit my kitchen floor in five pieces, and it was the only thing of hers I still had. I glued it so badly that I put the pieces in a shoebox and couldn't look at them for about a year.
Then I found kintsugi and I learned it the traditional way, with urushi lacquer, which is beautiful and expensive and takes months of curing for one single bowl, and the sap can give you a rash a lot like poison ivy. The version I teach gives you a similar gold-veined look out of modern materials that cost a few dollars and finish over a weekend. My grandmother's bowl sits on my counter now with all its gold seams.
These days I am in a small town in western North Carolina, in a house with a long kitchen window that gives me really good light to work by. Teaching this is my favorite part of the week, it honestly is. What I like best is starting somebody off on a cheap little bowl of their own, because once you know how this works, if something you love ever does break, you will not be standing there helpless the way I was.
The workshop
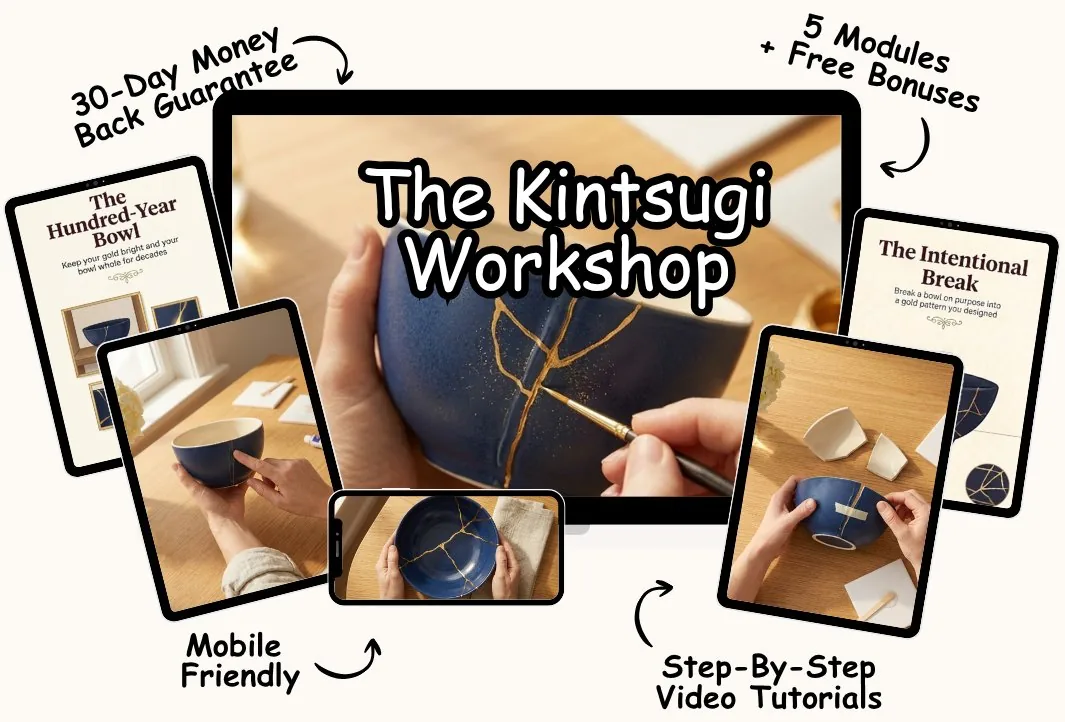
The Kintsugi Workshop
This is the weekend class I teach in person, filmed up close over the work. Five modules, and we take one broken bowl all the way from a pile of pieces on the table to gold sitting on the shelf.
What's inside
Five modules, and one mended bowl at the end of it.
You can watch the whole thing in one sitting or spread it across the weekend, whatever suits you. The videos stay short and the camera stays down on the work.
Module 01
The Shoebox Studio
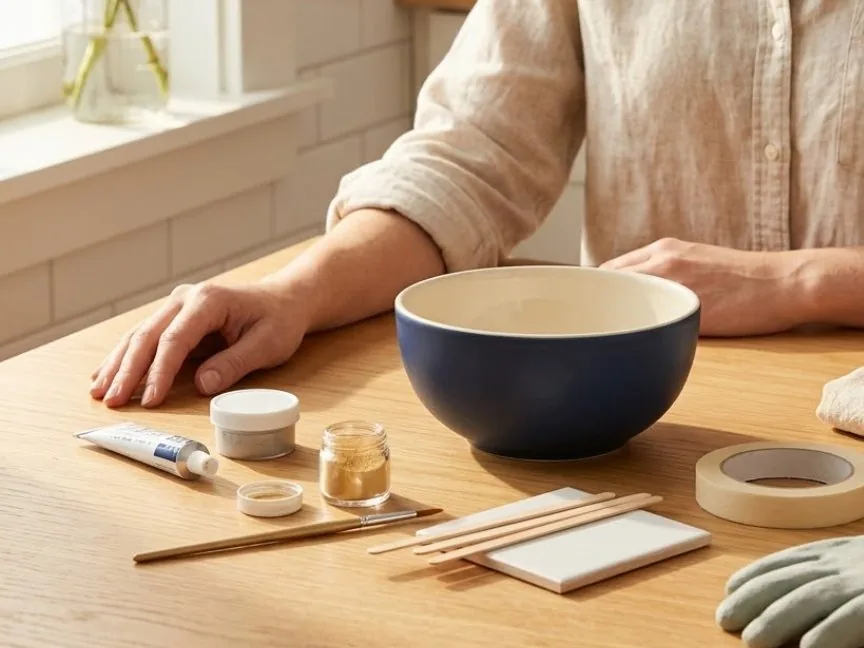
We get the table set up, and I show you the ten seconds of prep that decide whether your gold sits up proud on the seam or sinks down into a stain.
There is a one minute cleaning step at the start, and it is the whole difference between a gold line that looks like metal and one that looks like a smudge. People skip it constantly and then they blame the powder.
What not to do to a broken edge before you glue it, because that stain soaks right down into the seam and you will not even see it until the gold is already on.
Which bowl to start with, and the two things I watch beginners buy that honestly do nothing for them.
The simple contained break we use on your very first bowl, which opens it into three or four clean pieces you can actually gild. Nothing gets dropped or smashed across the floor. I'll show you how to keep the break contained and manageable.
Module 02
Gluing Without the Panic
The epoxy is the part everybody is nervous about, and it turns out to be the most forgiving thing on the table once you know the trick to it.
Why your epoxy keeps setting up before you are ready, and the mixing habit that buys you all the working time you need.
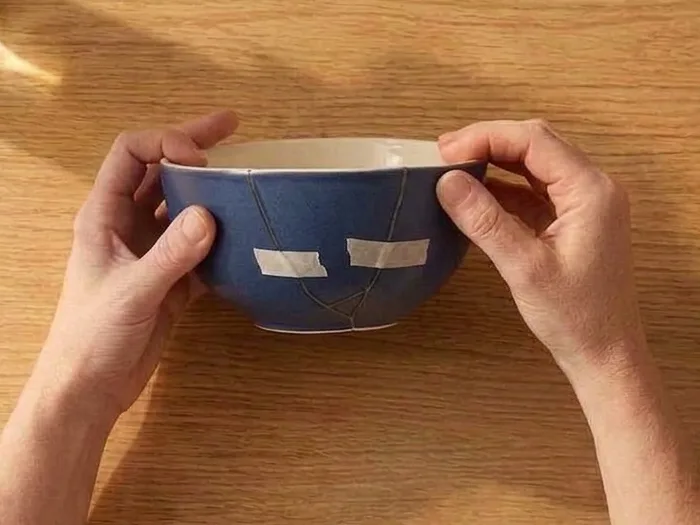
A masking tape trick that holds four pieces in line while they cure, so nothing locks in crooked on you.
Why we go largest piece to smallest instead of all at once, and the order that keeps the whole bowl from shifting around while you work.
How to wipe the squeeze-out off the seam in that ten second window, because once it cures you have a grey ridge sitting there and it is not coming off.
Module 03
Following the Break
This is the one shift in how you look at the bowl that separates a gold vein from grey glue.
The gold follows the crack, and once you start reading a break that way, as a line to trace, that is really the heart of the whole craft.
The most important decision you make on the bowl, and you make it before you mix a single drop of epoxy.
How to keep one line thin and even, which is most of what separates a mend that looks considered from one that looks patched.
How people who do this a lot get a mirror bright line, and it does not take a steady hand or any expensive tools.
Module 04
The Gold Pass
These are the ten harmless looking minutes where most bowls turn to mustard, and the person holding it does not find out for another hour.
Most first bowls come out of the gold pass dull and brown. We are going to make sure yours comes out bright metal.
How to fill in a missing chip so it reads as a vein you meant to put there instead of a patch. Get it wrong and you end up with a lump that catches everybody's eye.
When the gold actually goes on, which is the tack stage where powder turns into metal, and the touch test I use to know it has got there.
How to pull a deep bright line out of a ten dollar jar of powder, and the two things that dull it down to a dirty brown if you get them wrong.
Module 05
The Reveal
This is my absolute favorite part, and it is the part everything else was for. The gold comes up bright, the seam disappears into it, and this is the bit everybody ends up filming.
The one thing you really do not want to do while the epoxy is curing.
How to scrape and sand a rough seam flush without scratching up the glaze around it, so the gold sits clean and level.
The fingertip of varnish at the end that gives a mended bowl that deep wet looking shine.
How to wash it, and what a mended bowl can and cannot handle day to day, so yours actually lasts.
Included free today
There are four bonus guides that come with it.
These are the things students always ask me right after their first bowl, so I went ahead and wrote them down before you need them.
01$19 value · free
The Hundred-Year Bowl
So you made it, and now it has to survive your house, which is honestly more dangerous for a mended bowl than a hundred years on a shelf ever was.
Why a repair that should last a lifetime can come apart over one hot summer on a windowsill, and the fix for it, which costs you nothing at all.
Where to set a mended bowl so a cat or a toddler or a slammed cupboard door cannot get at it, without hiding it away in a drawer where nobody sees it.
What never to wash your finished bowl in. It is sitting in almost every kitchen and it will take the gold right off your best work.
02$29 value · free
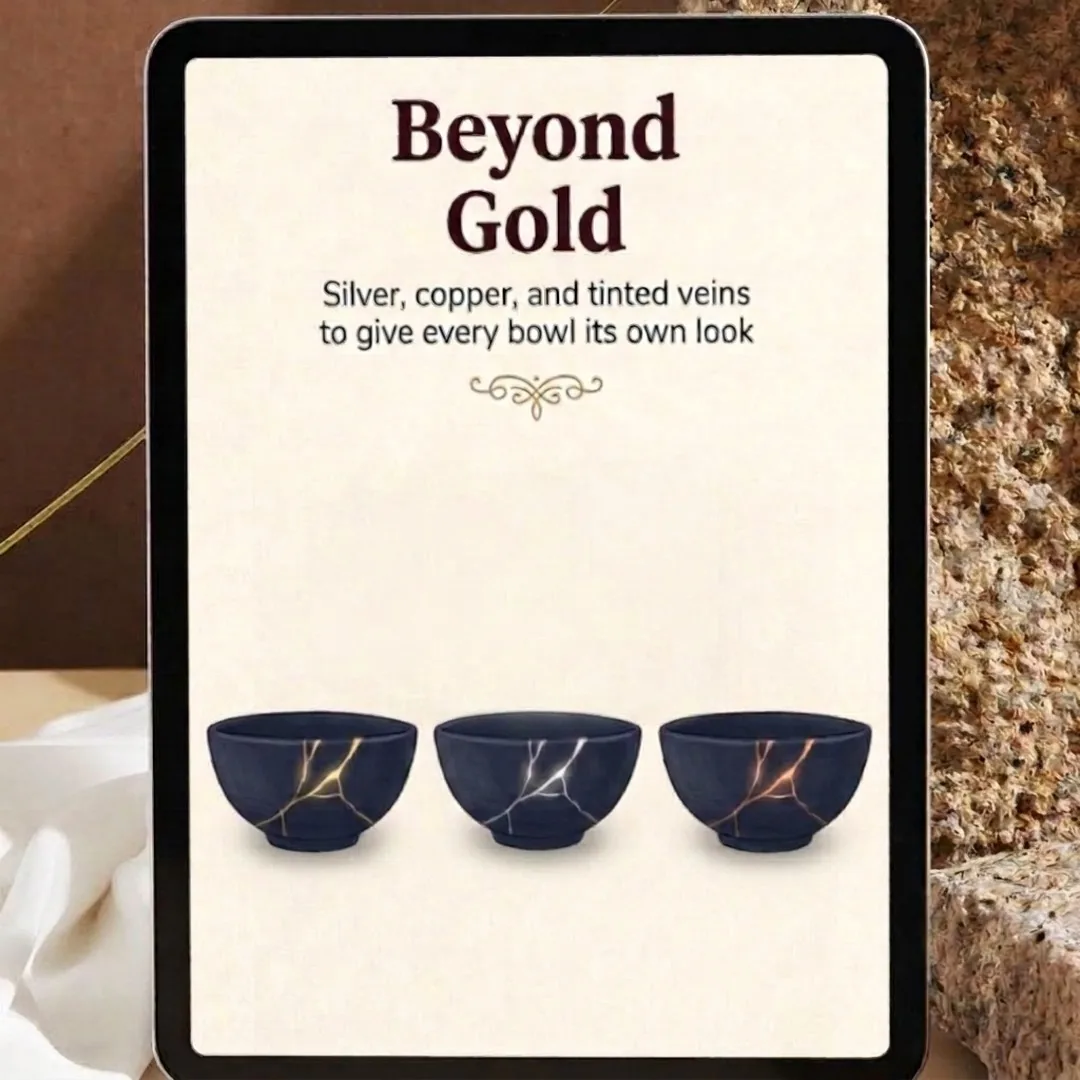
Beyond Gold
Gold is just where you start. Silver and copper and the tinted veins are what keep your shelf varied and keep this interesting long after bowl number one.
When silver makes a bowl look more expensive than gold does, and how to tell which one a bowl wants before you commit to it.
How to pull a warm copper vein that looks a hundred years old the same afternoon you make it.
A three metal trick on one single bowl, and it catches the light differently from every angle in the room.
03$37 value · free
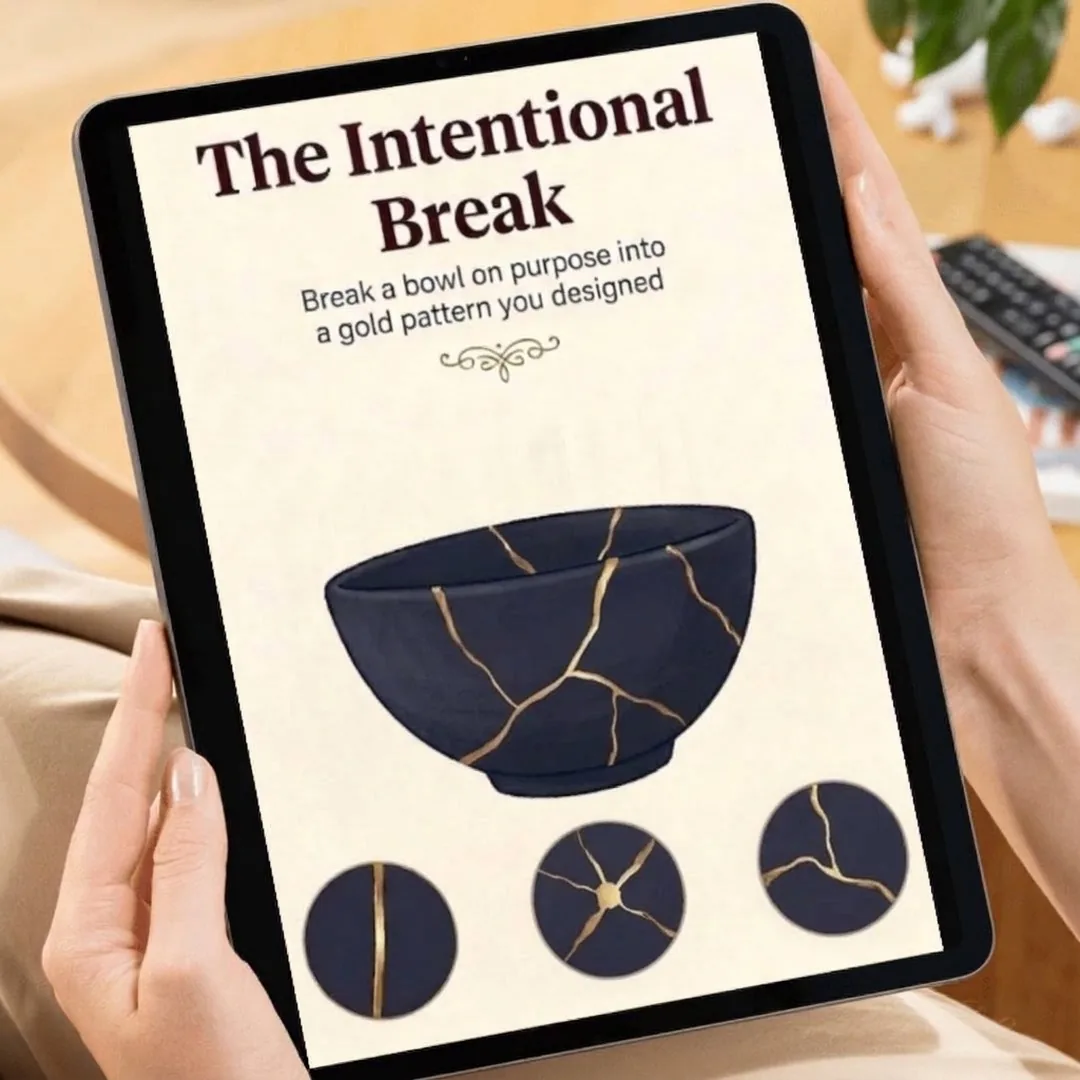
The Intentional Break
Module 1 gives you a simple controlled break for your first bowl. This is the step up from that, where you decide in advance where you want the gold to run and then break the bowl to match.
How to break a perfect bowl into a pattern you designed yourself, instead of hoping a random shatter happens to come out nice.
The towel and tap method that opens a bowl up into clean workable pieces instead of a pile of shards.
Why people who have been doing this a while will break a flawless bowl just to gild it, and why those often end up being the pieces people notice first.
04$37 value · free for the first 100
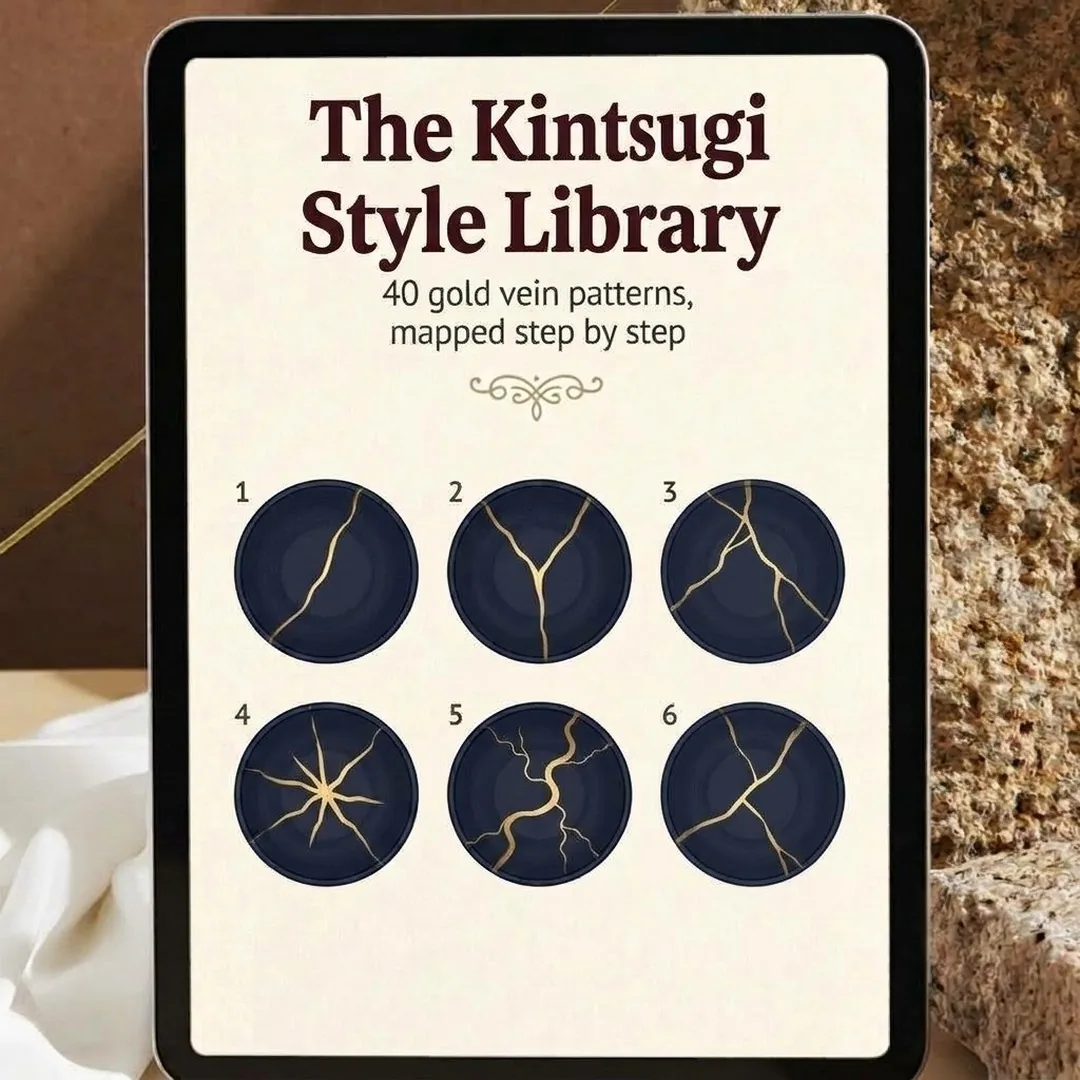
The Kintsugi Style Library
Forty vein layouts drawn out flat, and every one of them has its gilding sequence printed right there beside it. You pick a break, you pick a pattern, and you follow the map.
If you can match a pattern on the page, you can lay out a vein that looks considered rather than accidental.
A five minute matching method where you hold your broken piece over the pattern page and just pick whichever map comes closest.
Forty pattern maps with their sequences, everything from a first-timer single seam up to a wide branching river.
The price
So here is everything on this page, for $47.
The workshop is $97. I am letting the first hundred students in at $47, because I want that first group small enough that I can answer questions personally while everybody works through their first bowl. After that it is $97.
"Is $47 a lot for a hobby I might not stick with?"
One finished bowl answers that a lot better than I can, but let me do the boring math anyway. The workshop and all four guides together cost less than one factory made "kintsugi-style" bowl from a home store, and those are printed patterns on ceramic that was never broken in the first place. And if it turns out this is not your craft, the guarantee down below hands you the whole $47 back.Maya B.
"Isn't this just a decorative thing that ends up in a drawer?"
A mended bowl is about the opposite of drawer clutter. The whole idea it is built on is that the break is the part worth showing off. That's why people tend to display them instead of tucking them away in a drawer. Nobody picks one up and thinks about the damage. They think about who made it.Maya B.
"I don't have a craft room or any equipment."
Module 1 is called The Shoebox Studio for a reason, because the whole kit really does fit in one. Epoxy, powder, brush, tape. It all happens on a spread of newspaper at whatever table you already own, and then it packs away again between sessions.Maya B.
30 DAYS
Go mend one real bowl, and then decide.
You do not have to make the final call today. Get in, watch all of it, and take a bowl the whole way from broken to gilded. If at any point in the next 30 days you are not glad you bought it, send me a one line email and I will issue your full refund within 24 hours. I will not ask you what went wrong, and there is no form sitting between you and your refund. I would honestly rather you picked up a two dollar bowl, gave this a proper go, and decided from the finished piece in your own hands whether it is your kind of craft.
Questions
Frequently asked
Is this real kintsugi, or a modern version?
It is the modern method, and that is on purpose. Traditional kintsugi uses urushi, which is a tree sap lacquer that costs more per tube than this whole workshop, cures for weeks on every seam, and can leave a poison ivy sort of rash on bare skin. I learned that way first, and what I teach now is the version I wish somebody had started me on: modern two part epoxy and metal powder, finished over a weekend, and it gives you the gold-veined look people associate with kintsugi. One important thing: treat your finished bowl as a decorative piece rather than functional dinnerware. The epoxy and metal powder are not food safe, so keep it off the table and out of the dishwasher, and wipe it clean by hand.
Do I need any experience or artistic talent?
None at all. You are not drawing or painting a design, because the break already supplies that, and what I teach you is the order to work in. The students who turn up swearing they are not creative do just fine here.
What supplies do I need, and what do they cost?
Two part epoxy, gold powder, which is either mica or brass, a fine brush, masking tape, and a practice bowl from any secondhand shop. Call it $25 to $35 to get started if you buy everything new. The powder on its own will gild about a dozen bowls, so every bowl after the first one runs you a couple of dollars. Module 1 goes through the brands and where to get them cheap.
How long does it take to finish a bowl?
A simple crack takes an afternoon. You glue it, you wait for the tack, and you lay the gold. A bowl that came apart in several pieces stretches across a weekend, because each seam wants to set before the next piece goes on. The videos themselves are short, and most students watch the whole thing in one sitting.
Is this a one-time payment?
One payment of $47, and everything on this page is included in that. There is no subscription hiding behind the checkout and no further course purchases. The only other thing you spend money on is the basic supplies listed above, which run about $25 to $35 and mostly last you a dozen bowls.
What if I try it and it's not for me?
You get 30 days to decide from the inside. If it is not what you were hoping for, one email is all it takes and I will issue your full refund within 24 hours.
How long do I have access?
Forever. You pay once, and the lessons are sitting there whenever the next broken bowl turns up, whether that is next week or five years from now.
How is this different from free YouTube tutorials?
There are some lovely kintsugi videos online and I have learned things from plenty of them. What is hard as a beginner is knowing which materials and methods go together, because one video skips the prep, the next gilds at a different moment, and they rarely agree with each other on what to buy. Here you follow the same bowl from the first break through to the final gold in one consistent process, and I am on the other end of an email when you get stuck.
When can I start?
The access email lands the moment your payment clears, and the whole thing streams on any phone or tablet or computer. Plenty of students watch Module 1 that same evening and break their practice bowl the next morning.
Before you go
Your first bowl is probably sitting in a thrift store right now.
I keep a shelf in my kitchen that is nothing but bowls I broke on purpose. It started out as one. Then it was a row, and then friends started handing me the pieces of things they never could bring themselves to throw out, and those went up there too.
So next time you go past a thrift store, have a look at the bowls a little differently. Find one in a color or a shape you like. It does not have to be special and it does not have to be expensive, and it certainly does not have to be broken yet. Bring it home and I will take you through the rest of it.
By purchasing and accessing The Kintsugi Workshop ("the Course"), you agree to these terms.
License & Access. Your purchase grants you a personal, non-transferable, lifetime license to access all course materials. You may not redistribute, resell, or share your login credentials with others.
Intellectual Property. All course content, including videos, guides, patterns, and images, is the intellectual property of the course creators. You may not copy, reproduce, or distribute any materials without written permission.
Refund Policy. We offer a full 30-day money-back guarantee. If you are not satisfied for any reason, email us within 30 days of purchase for a complete refund.
Cancellation. This is a one-time purchase with lifetime access. There is no subscription or recurring billing to cancel.
Safety Note. The course involves breaking ceramic and working with two-part epoxy. Follow the handling guidance in the videos, work in a ventilated space, and keep materials away from children. Mended pieces are decorative and not certified for food-contact use.
Disclaimer. The course is provided for educational purposes. Results vary with materials, effort, and experience. We make no guarantees of specific outcomes.
Limitation of Liability. To the maximum extent permitted by law, our total liability is limited to the amount you paid for the course.
Privacy Policy
Last updated: August 2026
We respect your privacy and protect the personal information you share with us.
Information We Collect. When you purchase the course, we collect your name, email address, and payment information. Payment details are processed securely by our third-party payment processor and are never stored on our servers.
How We Use Your Information. We use your information to:
Deliver the course and bonus guides
Send purchase confirmations and access instructions
Respond to support and refund requests
Send occasional course updates (you can unsubscribe anytime)
Third Parties. We do not sell, rent, or trade your personal information. We share data with service providers (payment processing, email delivery) strictly to fulfill your purchase.
Cookies & Analytics. This site may use cookies and analytics tools that collect anonymous usage data. They do not identify you personally.
Your Rights. You may request access to, correction of, or deletion of your personal data at any time by contacting us.